
Uncategorized
How to Clean Diecast Models Without Damage
Oct
A thin layer of dust can make a 1/18 Ferrari look neglected, but an aggressive wipe can do far worse. Fine scratches in clear plastic, lifted tampo details, bent mirrors, and moisture trapped around a windshield are all avoidable. Learning how to clean diecast models is less about buying specialty chemicals and more about using a light touch, clean materials, and the right method for the model in front of you.
A sealed Hot Wheels Car Culture release, a detailed 1/24 pickup, and an opening 1/18 race car should not all be handled the same way. Start by identifying the model’s condition, materials, and level of detail before you clean.
Start With the Safest Cleaning Setup
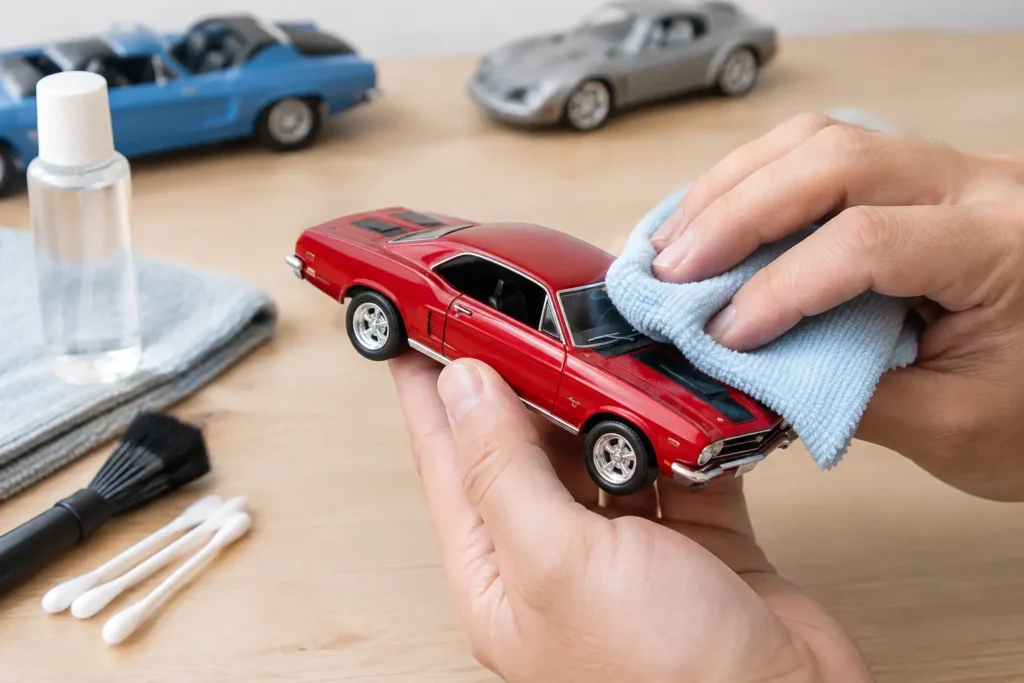
Set up on a clean, stable table with a soft towel underneath the model. The towel protects the paint if a small part slips from your fingers and keeps wheels, mirrors, antennas, or accessories from rolling away. Work in good light so you can see dust collecting in panel lines, grille openings, and wheel spokes.
For regular maintenance, you only need a few collector-friendly supplies:
- A soft, clean makeup brush or detailing brush with natural or very soft synthetic bristles
- Microfiber cloths reserved for model cleaning only
- Cotton swabs, preferably lint-free
- Distilled water in a small cup or spray bottle
- A mild, fragrance-free dish soap for stubborn grime
- A hand blower or bulb blower for tight areas
Avoid paper towels, tissues, rough shop cloths, and old T-shirts. They may feel soft, but their fibers can drag dirt across paint or leave lint on clear windows. Also skip household cleaners, glass cleaner, furniture polish, alcohol, acetone, and abrasive polish. Products that work on a full-size vehicle or a kitchen counter can haze plastic, soften printed graphics, or strip detail paint from a diecast model.
How to Clean Diecast Models With Light Dust
For a model that has been displayed indoors and only has surface dust, dry cleaning is usually the best choice. Do not reach for water first. Dust can contain tiny abrasive particles, and rubbing them directly into a glossy hood or roof can leave swirl marks.
Use the blower first to move loose dust out of wheel wells, engine bays, grille openings, and interior seats. Hold the model securely and use short puffs rather than a powerful blast. Compressed air cans are not ideal because they can spray propellant, especially if tilted, and the force can dislodge delicate parts.
Next, brush the body gently with long strokes. Begin at the roof and work down toward the rocker panels, cleaning the brush occasionally on a separate microfiber cloth. Use almost no pressure. The brush should lift dust, not scrub the paint.
Finish with a clean microfiber cloth only if the surface still looks dull. Fold the cloth into a padded square and barely glide it over broad painted panels. Do not use the same cloth on dusty wheels and then on the body. Brake dust-colored residue, grit, and rubber particles can transfer to the paint.
Take extra care around graphics and decals
Many collectible releases feature tampo printing, racing numbers, sponsor graphics, striping, and fine trim details. These markings are part of what makes an exact livery or special-edition colorway worth displaying. Brush over them lightly and avoid repeated rubbing with a damp cloth.
Older models and heavily played-with pieces deserve even more caution. If a decal edge is already lifting, do not wet it or press it down. Clean around it, keep the area dry, and consider leaving that flaw alone rather than turning it into a larger restoration project.
Removing Fingerprints and Stubborn Spots
A fingerprint on a glossy black muscle car or chrome bumper is frustrating, but it does not call for a heavy cleaner. First try a dry microfiber cloth. If that does not work, dampen one corner of the cloth with distilled water. The cloth should be slightly damp, never dripping.
Wipe the affected panel with one gentle pass, then immediately dry it with another clean section of microfiber. Distilled water is preferred because tap water can leave mineral spots, especially on dark paint and clear windows.
For a sticky mark or light grime, mix a tiny drop of mild dish soap into distilled water. Dampen a cotton swab or microfiber corner, test it on an inconspicuous painted area, and clean only the spot. Follow with a water-dampened cloth to remove soap residue, then dry the area completely.
Never soak a diecast vehicle. Water can seep through door gaps and window openings, collect in interiors, and reach axles or screws. On models with opening hoods, doors, trunks, suspension pieces, or detailed engine bays, excess moisture has many places to hide.
Clear Windows, Chrome, Tires, and Interiors Need Different Treatment
Clear plastic windows scratch much more easily than painted diecast metal. Use a blower and a very soft microfiber cloth, moving in straight, light strokes. If a window needs moisture, use only distilled water on the cloth. Do not spray directly onto the glass or use household glass cleaner, which may haze certain plastics or creep into seams.
Chrome finishes can also be delicate. Dust them with a brush, then use a dry microfiber cloth for fingerprints. Avoid metal polish. On a miniature bumper, grille, or wheel lip, even a mild abrasive can remove the finish or leave the surface uneven.
Rubber and plastic tires usually need little more than brushing. If there is residue on the tread, use a barely damp swab and dry it right away. Do not apply tire shine, oil, or silicone products. They can leave an unnatural finish, attract dust, and stain the display surface over time.
For interiors, use a soft brush and blower instead of moisture whenever possible. Dashboard decals, steering wheels, shifters, seat belts, and tiny gauges are easy to snag. A cotton swab can reach a seat corner or door panel, but rotate it gently instead of pushing hard into the detail.
Cleaning Models in Packaging and Display Cases
Carded 1/64 models and boxed collectibles need their own approach. Wipe sealed plastic blisters or protective windows with a dry microfiber cloth first. If fingerprints remain, use a cloth barely dampened with distilled water, keeping moisture away from cardboard edges. Card stock can warp, stain, and separate quickly.
For acrylic display cases, remove dust with a blower or soft brush before wiping. Acrylic is more scratch-prone than glass, so never dry-rub a dusty case with pressure. A clean microfiber cloth slightly dampened with water is usually enough for routine cleaning.
A clean display case reduces how often you need to touch the model itself. Keep cases away from direct sunlight, heating vents, cooking areas, and smoking environments. Sunlight can fade liveries and interiors, while airborne grease and smoke create a film that is much harder to remove than ordinary dust.
When Not to Clean a Diecast Model
Sometimes the best collector decision is to stop. If a vintage casting has flaking paint, cracked plastic, loose decals, oxidized metal, or sticky old residue, a home cleaning attempt may worsen the damage. That is especially true for rare pieces where original condition matters more than a freshly polished appearance.
Do not try to “restore” patina with solvents or polish unless you understand the materials and accept the risk. A lightly dusty original finish is usually preferable to stripped graphics, cloudy windows, or a repaint that removes the model’s collector character. For valuable limited editions, clean conservatively and document condition before making any changes.
Make light dusting part of your collection routine instead of waiting for buildup. A few careful minutes every month or two will keep your favorite castings ready for the shelf, the display case, or the next close look at all those details that made you want the model in the first place.
