
Uncategorized
How to Protect Diecast Decals Without Damage
Oct
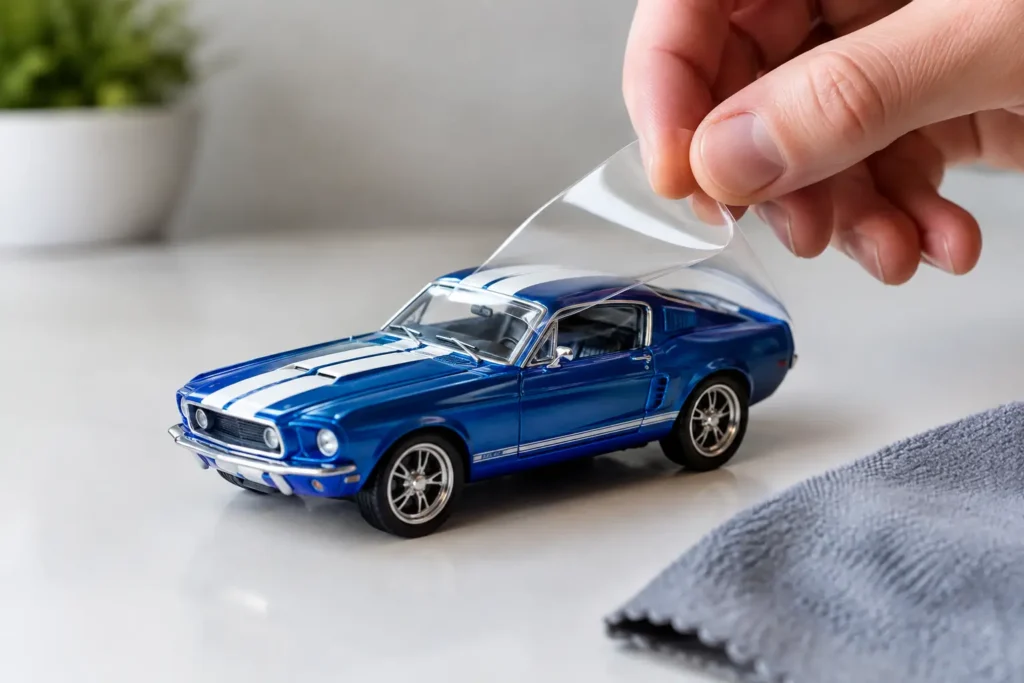
A tiny sponsor logo on a 1/64 race car or a period-correct stripe on a 1/18 muscle car can be the detail that makes a release worth hunting down. Knowing how to protect diecast decals keeps those details sharp, whether you collect Hot Wheels Car Culture castings, premium Ferrari race cars, vintage trucks, or limited-edition aircraft.
Decals are often the most vulnerable part of a model. Paint may tolerate light dusting and careful handling, but graphics can fade, scratch, crack, or lift when exposed to sunlight, harsh cleaners, humidity, or the wrong protective coating. The good news is that most damage is avoidable with a few collector-safe habits.
Know What Is on the Model First
Collectors often call every graphic a decal, but diecast models can use several decoration methods. Some graphics are tampo printed directly onto the body. Others are true waterslide decals, commonly seen on detailed model kits, custom builds, race replicas, and certain premium models. A model may also have printed labels, vinyl-style graphics, or clear-applied markings.
This matters because a tampo print is generally more durable than a waterslide decal, while a thin waterslide decal can react badly to moisture, cleaning products, or aggressive rubbing. If you do not know how a specific model was decorated, treat it as delicate. That approach is especially smart for older releases, hand-built pieces, customs, and models that have spent years out of their packaging.
Before using any product, inspect the graphics under good light. Look for curling edges, tiny cracks, cloudy spots, color fading, or residue around the decal. If an edge is already lifting, rubbing it with a cloth or applying liquid cleaner can turn a minor issue into a missing logo.
Protect Diecast Decals by Controlling Light
Direct sunlight is one of the fastest ways to fade decals. Bright red racing numbers can soften, white decals can yellow, and darker graphics can lose contrast over time. Window displays look great for a while, but they are a trade-off: natural light makes a collection easy to enjoy, while ultraviolet exposure can permanently change the finish.
Keep display cases away from direct sun whenever possible. A shelf on an interior wall is a safer choice than one facing a sunny window. If the room gets strong daylight, use blinds, curtains, UV-filtering window film, or a display cabinet with UV-resistant panels.
LED lighting is also a better option than older bulbs. LEDs produce much less heat, which helps protect decals, paint, tires, and plastic windows. Still, do not position lights inches from the models or leave a brightly lit cabinet on around the clock. Lower heat and lower exposure are both wins for long-term display.
Handle Models Like the Details Matter
The quickest way to scratch a door logo or hood graphic is to grip the body too tightly. Oils from your hands can also leave marks that attract dust and encourage repeated cleaning.
Pick up a diecast by its base or by sturdy areas that are free of graphics. On a 1/64 car, that may mean supporting the chassis between your fingertips. On a larger 1/18 or 1/24 model, use two hands and lift from the chassis, wheel areas, or underside rather than pressing against the roof, doors, and hood.
If you are photographing models, place a clean microfiber towel, foam pad, or soft mat on the work surface. A desk can look clean while still carrying grit that will scuff paint or decals as the model slides. Avoid dragging a car into position. Lift it, set it down, then adjust carefully.
Cotton or nitrile gloves can be useful for high-value pieces, but clean, dry hands are often safer than bulky gloves that reduce your grip. If you use gloves, make sure they are lint-free and free of loose threads that could catch a lifted decal edge.
Dust Gently and Skip Household Cleaners
Dust is unavoidable, particularly on open shelves. The goal is to remove it without turning each cleaning session into abrasion. Start with a soft makeup brush, camera lens brush, or clean detailing brush. Use light strokes and let the bristles do the work. A manual air blower can also move loose dust out of grilles, interiors, and wing supports.
Do not use compressed air cans close to a model. They can blast debris across the surface, force moisture from the can onto the finish, or put enough pressure on a weakened decal to lift it. A household vacuum is also risky because a loose mirror, antenna, or small accessory can disappear in an instant.
For fingerprints or stubborn grime, use the least aggressive method first. A barely damp microfiber cloth can work on durable painted areas, but keep moisture away from decal edges and test an inconspicuous spot before touching a visible graphic. Never spray liquid directly onto the model.
Avoid alcohol, glass cleaner, all-purpose cleaner, acetone, nail polish remover, and other solvents. These products can haze clear plastic, soften paint, strip printed graphics, or dissolve adhesive under a waterslide decal. Even a cleaner marketed for cars is designed for full-size automotive finishes, not necessarily miniature paint and printed decoration.
Think Twice Before Applying Clear Coat
Clear coating can be the right move for a custom diecast or a freshly decaled model kit, but it is not automatic protection for every collectible. A clear coat can change the gloss level, obscure fine graphics, react with existing paint, or cause decals to wrinkle if the product is incompatible. On an original limited release, a poorly applied clear coat can reduce collector appeal rather than preserve it.
If you are building or customizing a model, use a clear coat specifically compatible with hobby paints and decals. Give decals enough time to cure before sealing them, follow the manufacturer instructions, and test the full process on a spare body or plastic spoon first. Several very light coats are safer than one heavy pass.
For factory-finished diecast models, preservation usually means leaving the original finish alone. Good display, careful handling, and gentle dusting offer protection without altering the piece. Clear coat is best reserved for projects where you are already modifying the model and understand the materials involved.
Store Boxed Models in a Stable Space
Packaging can protect a collectible, but only if the storage environment is stable. Heat, high humidity, and rapid temperature swings can weaken adhesives, encourage decal lifting, warp plastic blisters, and damage cardboard artwork. A dry, climate-controlled room is far better than an attic, garage, shed, or damp basement.
Keep boxed cars upright when the packaging design calls for it, and avoid stacking heavy cartons on top of blister packs or window boxes. Pressure can rub a model against its inner tray, leaving marks on graphics or paint. For premium 1/18 and 1/24 models, keep the original foam, straps, and inserts if you plan to store or move them later.
If you display models without boxes, a covered case offers the best balance of visibility and dust control. Leave enough room between pieces so mirrors, spoilers, ladders, aircraft wings, and truck accessories do not touch. Crowding a shelf is tempting when a new release arrives, but contact damage is rarely worth the extra space.
Watch for Trouble Before It Spreads
A lifted decal edge, sticky residue, or new crack is worth addressing early. Move the model away from heat and sunlight, stop cleaning that area, and avoid touching the damaged graphic. If the model is rare, valuable, or sentimental, a professional restoration specialist may be a better choice than experimenting with glue or clear coat.
For a less valuable custom or project car, repair can be part of the hobby. Replacement decals, careful decal-setting techniques, and a compatible clear coat may restore the look. Just document the work if you ever plan to sell or trade the piece. Original condition matters to many collectors, especially with limited series and older castings.
The best display is one you can enjoy without constantly worrying about it. Give each model a clean, shaded, stable home, handle it with care, and let its livery, stripes, sponsor logos, and tiny badges stay the center of attention for years to come.
